Setting Up Config Service
Introduction
Centralized configuration is central (no pun intended) in achieving a successful microservices architecture. Spring Cloud supports this via:
spring-cloud-config-server: a super easy way to set up your config serverspring-cloud-starter-config: easy plug-in dependency to set up your client to retrieve configuration from the server.
Config History
A good practice to preserve config evolution is to store it in a version control system. In this example, we’ll use git to host our configurations.
Setting up Config Git
# change the below directory to where you want to set up your git
mkdir -p /Users/macpro/git/config
cd /Users/macpro/git/config

git init

vim reservation-service.properties

## Add the below to reservation-service.properties
server.port=${PORT:8000}
## reservation-service.properties host configuration for a service named reservation-service

git add reservation-service.properties
git commit -m "Add reservation-service.properties"
NOTE: You need to commit your config changes in order for Spring Config Server to reflect the latest config.
Setting up Config Server
-
Go to https://start.spring.io/
-
Type
config-serviceas the “Artifact” name, addConfig Serverdependencies, and “Generate Project”: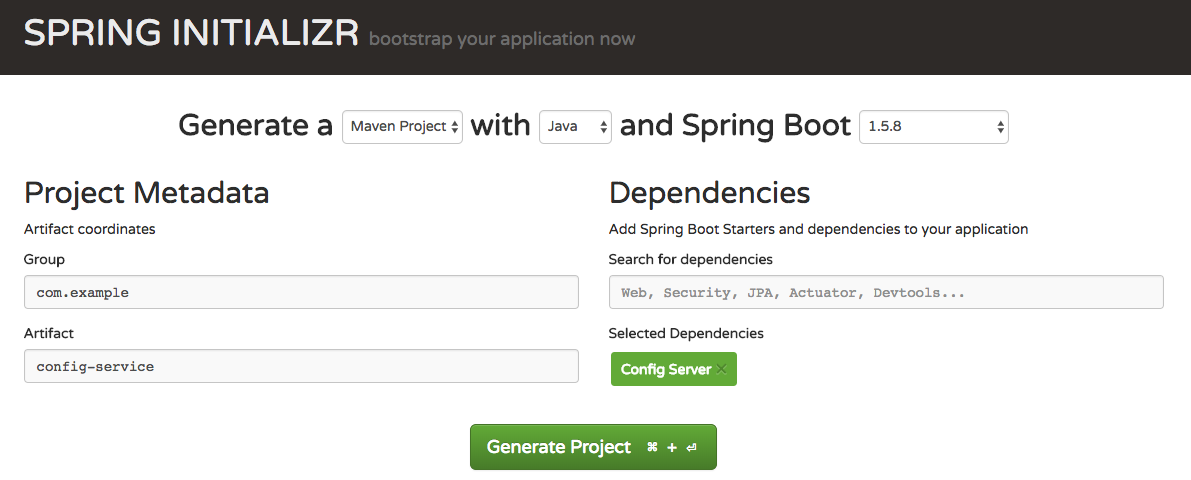
-
Open the project in your favorite Java IDE (mine is IntelliJ)
-
Add
@EnableConfigServerinsrc/main/java/ConfigServiceApplication:package com.example.configservice; import org.springframework.boot.SpringApplication; import org.springframework.boot.autoconfigure.SpringBootApplication; import org.springframework.cloud.config.server.EnableConfigServer; @EnableConfigServer @SpringBootApplication public class ConfigServiceApplication { public static void main(String[] args) { SpringApplication.run(ConfigServiceApplication.class, args); } } -
in
application.properties, add the below:server.port=8888 # CHANGEME: Change the below with your actual config's git location spring.cloud.config.server.git.uri=/Users/macpro/git/config -
Run
ConfigServiceApplicationand voila! Your config server is started! -
You can check the following URL to see what config is there for
reservation-service: http://localhost:8888/reservation-service/default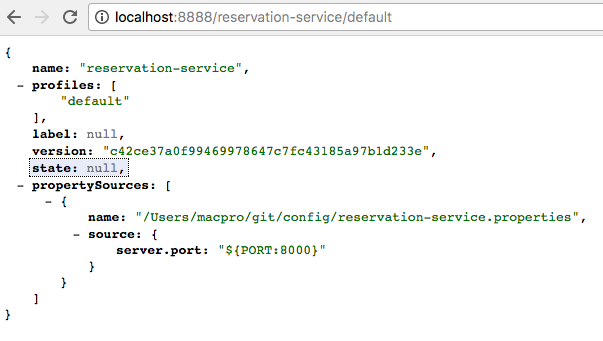
THINGS TO NOTE:
- It’s just so convenient to bootstrap a fully functioning config server by just a single annotation!
- Port
8888is defined inserver.portproperty inapplication.properties. reservation-servicecorresponds to the file name of the properties file in the config’s git and subsequently the microservice name.- I highly recommend JSONView Chrome Extension to view JSON nicely in your Chrome.
- In a later tutorial, you’ll see how you can consume this configuration from another spring boot application. You will also be able to modify properties on-the-fly, that is, without restarting neither the consuming (client) service nor the config service itself. A git commit is all you need.
- Finally, in actual production, you probably would want to protect your config service (e.g. using BASIC credentials), serve it via HTTPS, or even cipher sensitive texts such as passwords. Don’t worry, Spring’s config service supports all of that. It just takes a bit more configuration & further reading.
References:
https://spring.io/guides/gs/centralized-configuration/
Next Up
Setting Up Eureka Service (Service Discovery & Registration)