Setting Up Zipkin Service
Introduction
When it comes to microservices, tracing what happens becomes enormously more complex. You can’t just put a breakpoint and debug your way through just like how you would do with a monolith. Fortunately, folks at Twitter came up with Zipkin. Used and popularized by engineers Netflix and Uber, Zipkin became sort of a de facto choice for distributed system’s tracing solution. And just like with other popular libraries, integrating Zipkin to Spring Boot is a matter of plug and play.
There are 2 components to use Zipkin:
- Zipkin Server (
zipkin-server&zipkin-autoconfigure-ui): This will be our service which stores all our tracing data and visualize them. - Zipkin Client (
zipkin-cloud-starter-zipkin): This will send stream our tracing data from a client’s service.
Setting up Zipkin Service’s Configuration
In the existing config’s git:
vim zipkin-service.properties

### Add the below to zipkin-service.properties
server.port=${PORT:9411}
spring.datasource.initialize = false
spring.sleuth.enabled = false
zipkin.store.type = mem
## End of zipkin-service.properties

git add zipkin-service.properties
git commit -m "Add zipkin-service.properties"
Setting up Zipkin Service
-
Go to https://start.spring.io/
-
Type
zipkin-serviceas the “Artifact” name, addZipkin UI,Eureka DiscoveryandConfig Clientdependencies, and “Generate Project”: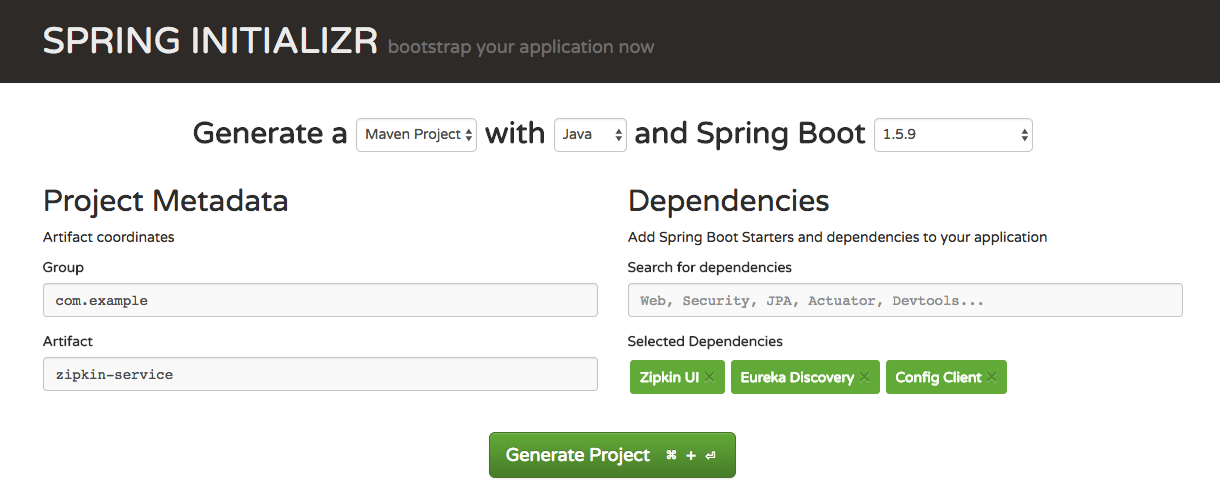
-
Open the project in your favorite Java IDE (mine is IntelliJ)
-
Add the below zipkin server’s dependency to
pom.xml:<dependency> <groupId>io.zipkin.java</groupId> <artifactId>zipkin-server</artifactId> </dependency> -
Add
@EnableDiscoveryClientand@EnableZipkinServerinsrc/main/java/ZipkinServiceApplication:package com.example.zipkinservice; import org.springframework.boot.SpringApplication; import org.springframework.boot.autoconfigure.SpringBootApplication; import org.springframework.cloud.client.discovery.EnableDiscoveryClient; import zipkin.server.EnableZipkinServer; @SpringBootApplication @EnableDiscoveryClient @EnableZipkinServer public class ZipkinServiceApplication { public static void main(String[] args) { SpringApplication.run(ZipkinServiceApplication.class, args); } } -
in
src/main/resources, create a new file calledbootstrap.properties, add the below:# tell config service what is the name of the service and corresponding config to retrieve spring.application.name=zipkin-service # tell the location the location of config server spring.cloud.config.uri=http://localhost:8888 -
Run
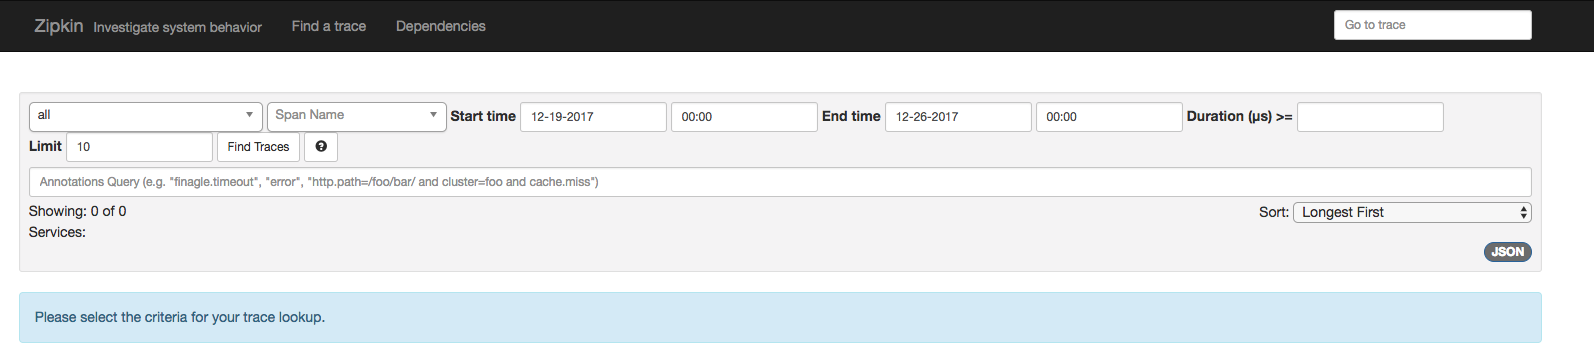
ZipkinServiceApplicationand voila! Your Zipkin server is started! -
Go to http://localhost:9411/zipkin/ to visit Zipkin’s UI. There is currently nothing, but soon, we’ll register our microservices in the next posts and be able to trace requests going through the pipeline.
Conclusion:
We have now set up our zipkin service which can diagrammatically show a timeline of requests going through our microservices. In the next posts, you will see how we can use Zipkin Client to feed data to our server.